
The short answer
- Drive type and motor capacity affect the opener selected for the door's weight, size and mounting space.
- Battery backup, phone controls, remotes and an exterior keypad change the equipment and programming included.
- Door balance repairs, old unit removal, mounting access and safety sensor setup affect installation labor.
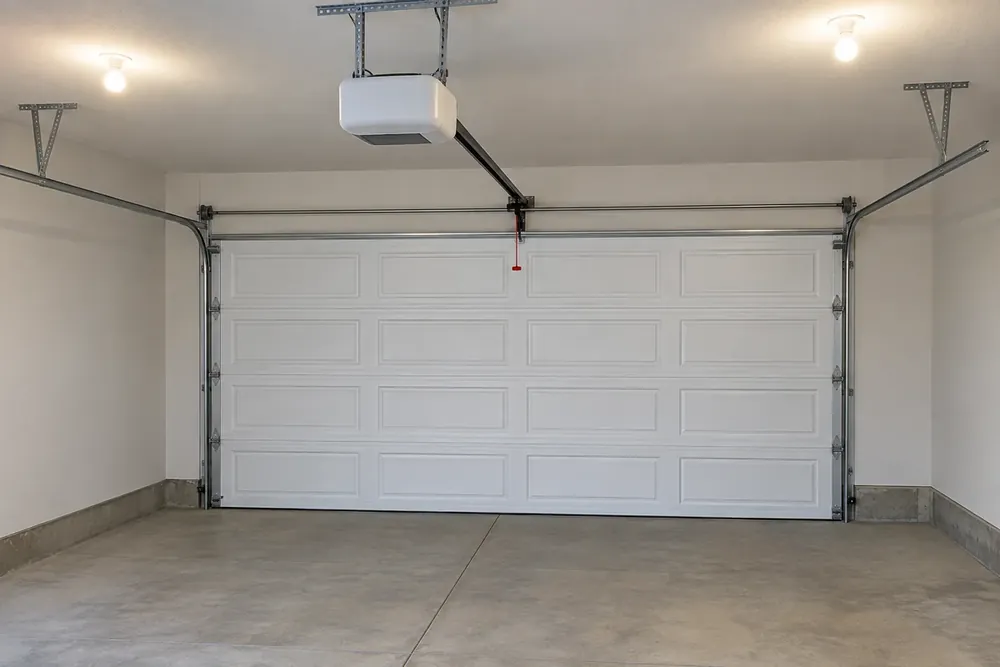
Equipment Choices and the Work Needed to Fit Them
The garage door opener and installation cost depends on the drive system, door condition and work needed to mount and test the unit. An opener struggling to lift a door needs diagnosis: a balance problem can remain after a motor is replaced.
Checking the Door Before Selecting Motor Power
Your technician inspects the springs, lift cables, drums, rollers, tracks and door sections before choosing an opener. Drums are the grooved wheels that guide the lift cables. The inspection also includes the existing opener, controls and photo eyes, the paired sensors beside the opening.
For a heavy or double door, horsepower is only part of the selection. The motor must suit the door's dimensions and weight under the manufacturer's specifications. Springs carry the balancing load; a stronger opener does not correct a broken spring. Any required spring replacement or balance adjustment happens before the new motor operates the door.
Comparing the Drive Arrangements
Drive type changes how the opener moves the door and where equipment mounts. Genie's product selection FAQ describes chain, belt and screw drives and the door measurements used for selection.
| Drive arrangement | What your technician checks |
|---|---|
| Chain drive | Ceiling rail space, mounting points and noise preferences |
| Belt drive | Rail clearance and the preference for quieter operation |
| Screw drive | Clearance for the rotating threaded rod that moves the door connection |
| Wall-mount jackshaft | Compatible spring shaft, side clearance and nearby power |
A jackshaft opener turns the shaft beside the door instead of pulling along a ceiling rail. It needs a compatible door system. Genie's wall-mount product specifications illustrate why shaft type and mounting space matter. A garage door opener installation price therefore reflects both equipment choice and the fit inside the garage.
Choosing Backup Power and Controls
Battery backup, an exterior keypad and phone control change the equipment and setup included. Backup power allows compatible units to operate during an outage, within the battery's limits. Phone features require the connections specified for that model, and keypad installation includes pairing and testing the entry code.
Discuss which controls the household will use. A remote, wall control or keypad already in the garage might not work with the new unit. Include the required replacements in the installation scope rather than assuming every accessory transfers.
Removing the Old Unit and Preparing the Mounting
The garage door opener installation fee depends on removal, mounting and connection work as well as programming. Your technician checks ceiling support, rail length, clearance around stored items and a suitable grounded outlet within reach of the power cord. A new outlet or relocated wiring is a separate electrical task when needed; an extension cord is not a substitute for a suitable supply.
For installation near St. Louis, garage door opener cost also depends on the access and support available inside the garage. One of our local garage door partners will separate the opener, mounting work and any door repairs when explaining the price before installation starts.
Your technician disconnects power, removes the old motor and rail as applicable, installs the new supports and drive, and connects the specified controls and safety sensors. Reusing old sensor wiring requires checking its condition and compatibility. Opener installation service includes setup as well as hanging the motor.
Setting Travel and Testing Both Reversal Functions
Travel settings establish the fully open and closed positions, and force settings control the opener's response to resistance. Your technician follows the model's setup procedure, aligns the photo eyes and runs complete cycles. Chamberlain's sensor guidance explains that the paired sensors must face each other and work correctly.
Testing includes interrupting the beam during closing and a separate contact-reversal check according to the manual. The U.S. Consumer Product Safety Commission recommends checking the reversing function. Afterwards, the door should open without straining, close to the floor and reverse during the safety tests. Your technician also demonstrates the selected controls.
Handling a Door That Will Not Move
Call with the symptoms and keep clear of a tilted door or broken spring. Do not run the opener, pull the release or attempt spring, cable, drum or bottom-bracket work on a damaged system. Unplug the motor only from a safely accessible position without climbing.
With a straight, undamaged door, checking a remote battery or the wall control's lock switch is optional. You can also look for dirt on accessible photo-eye lenses and whether the sensors face one another. Leave wiring and bracket adjustments to your technician. Calling never depends on completing those checks.