
The short answer
- Single or double width changes the amount of door material and the hardware needed to support its weight.
- Steel thickness, insulation, windows and carriage styling affect the door you select and its cost.
- New tracks, matched springs and cables, old door removal and an optional opener determine the installation scope.
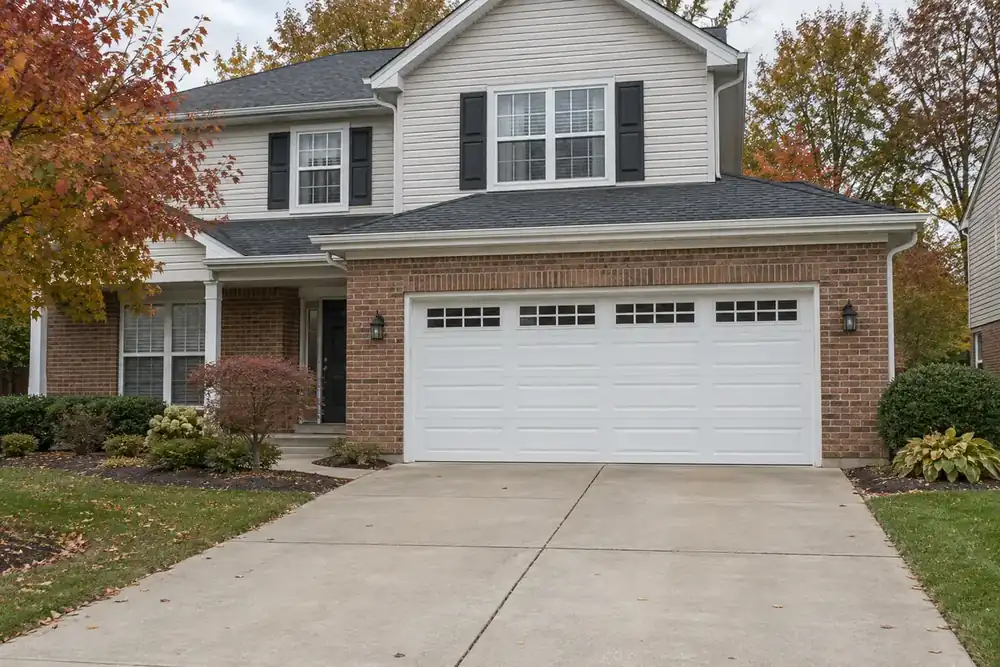
The Door Choices and Installation Work Behind the Cost
The cost of a garage door with installation depends on the door's construction and the work needed to fit it safely. Start with the opening and the parts included in the job. A door-only product listing leaves out labor, removal and other work that can change the total.
Measuring the Opening and Checking the Existing Parts
Your technician measures the opening and checks the space above and beside the door, the ceiling clearance and the mounting surfaces. Single and double widths require different amounts of material and supporting hardware. Door height also affects the sections, tracks and opener connection.
The inspection covers the existing springs, lift cables, cable drums, rollers, tracks, sections and opener. Cable drums are the grooved wheels that wind the lift cables. Your technician also checks the photo eyes, the small safety sensors near the floor on opposite sides of the opening.
Choosing Steel, Insulation, Windows and Styling
Steel thickness, insulated construction and decorative choices change the door's materials and weight. Gauge describes steel thickness; a lower gauge number means thicker steel. Compare the full construction, including backing layers and reinforcement, rather than gauge alone. Clopay's Classic Steel specifications show how steel, insulation layers and window choices vary within one door family.
R-value measures resistance to heat flow through the insulation. A higher number indicates greater thermal resistance, but it does not describe every joint or seal in the installed door. Clopay's insulation explanation distinguishes insulation R-value from whole-door thermal performance.
| Choice | What changes in the job |
|---|---|
| Single or double width | Door material, weight and supporting hardware |
| Steel gauge and backing | Section construction and stiffness |
| Insulation and R-value | Insulation type, thickness and section weight |
| Windows | Glass type, placement and weight |
| Carriage styling | Decorative overlays, finish and hardware details |
Matching Tracks, Springs and Cables to the New Door
The new door needs tracks, springs and cables specified for its size and weight. Old tracks are not automatically suitable just because they fit the opening. Your technician installs the matched door system, aligns the tracks and adjusts spring tension to balance the door. Springs on a two-spring system are usually replaced together when the system calls for a matched pair.
Garage door replacement costs also depend on removing and hauling away the old sections, track and hardware. One of our local garage door partners will explain the selected door, removal work and installation charges before the job begins.
Including an Opener and Allowing Time for Installation
Garage door installation cost changes when the job includes a new opener, controls and sensor wiring. Your technician checks whether the existing opener suits the new door and whether its attachment needs reinforcement. Compare opener cost factors when deciding whether to replace both together.
Installation commonly occupies much of a day; Clopay describes a typical replacement as a day of installation. Difficult mounting repairs, unusual track arrangements or an added opener can lengthen the work. That describes the job duration, not an arrival commitment.
Testing Balance, Closing Travel and Reversal
Your technician checks balance by hand, then sets the opener's travel limits and force according to its instructions. Travel limits tell the opener where to stop. A full opening and closing cycle follows, along with sensor and contact-reversal tests. The U.S. Consumer Product Safety Commission's garage door safety guidance explains why reversal testing matters.
After adjustment, the door should move evenly, remain in place around halfway when checked by your technician, and close fully without slamming. Interrupting the sensor beam during closing should make the door reverse.
Staying Clear of a Damaged Door
Call now if the door is crooked or a spring has broken, and keep people away from the opening. Do not run the opener or pull the release on an unstable door. Unplug the opener only if its plug is safely reachable without climbing. Do not loosen springs, cables, drums or bottom brackets on the old door because they can hold dangerous tension.
For a level door with no visible damage, optional observations include the remote battery, the wall control's lock switch and dirt on the photo-eye lenses. Look from the side to see whether the sensors face each other; leave mounting adjustments to your technician. None of those checks is required to call.